You want to give a little sparkle to that cutting board that is getting old or you want to finish one that you made yourself?
Nothing easier! Our experts in the field deliver their secrets in this quick tutorial.
As the board will be in contact with food, know, first of all, that it is essential to use a food grade oil.
Ready to start? We have also prepared a PDF format that can be downloaded and saved to your files.
How to finish a cutting board
If the board you choose has been assembled with glue, it is important that it is water resistant and food grade.
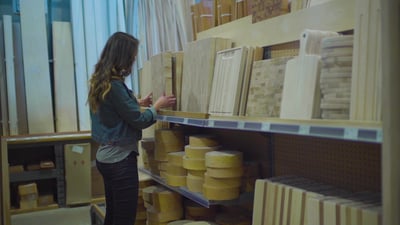
Visit our store or go online at www.langevinforest.com to discover our full range of cutting boards.
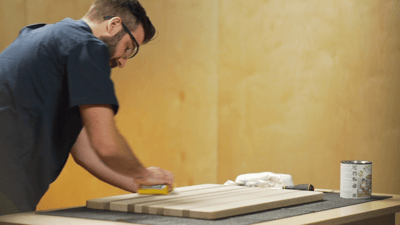
Sand in grain direction with 120 or 150 grit paper until you have achieved a smooth service and all unwanted marks are gone.
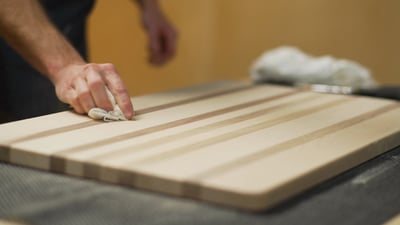 3. Cleaning the surface
The surface must be clean, free of dust and free from any residue. Make sure the chosen finishing product is at room temperature before starting the application process.
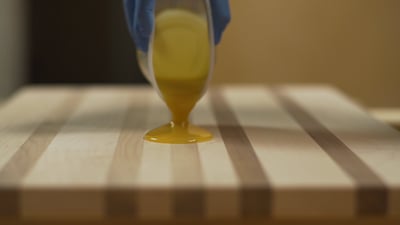 4. Applying the oil
Apply in thin layers using circular motions to push the oil into the wood fiber. An applicator pad or a clean cotton rag.
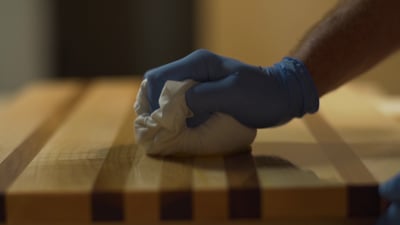
Wait 5 to 10 minutes after applying the oil. Wipe off excess oil by making big movements in the direction of the wood grain. A well wiped surface will not show any adhesion.
Important note: Immerse rags, polishing discs and oil-impregnated applicators in a metal container
hermetically sealed and filled with water and then proceed to their disposal to avoid the risk of self-combustion.
For the PDF version of this DIY, click HERE.